
Open Beta Walkthrough
Route ledgerThe route below is a verified sequence of named beta objectives. It preserves optional branches as branches and does not invent a complete launch walkthrough. Read the table as the route spine: the Prologue leads into the first explorable region, Tiel is the named Shell milestone, beacon cleansing supplies the central objective, and Marrow Keep marks the later movement toward Magdalena. Optional dungeons and hidden mini-bosses sit beside that spine rather than replacing it, so the guide remains useful while the beta evidence remains incomplete.
| Sequence | Verified objective | Supported context |
|---|---|---|
| Prologue | Complete the opening sequence | Introduces the path into the first explorable region. |
| Claim Tiel | Discover the named playable Shell | Tiel is one of eight playable Shells. |
| Cleanse beacons | Advance the objective in the first region | Optional dungeons and hidden mini-bosses branch around the route. |
| Marrow Keep | Continue beyond the named landmark | The objective moves toward Magdalena. |
| Magdalena | Follow the supported direction | The beta description identifies her as the Lady of the Woods. |
Prologue
Begin with the complete opening sequence. The Open Beta description places the Prologue before the first explorable region, so it functions as the route’s entry point rather than as a detachable side chapter. Let the sequence establish the Harbinger’s mission and the basic combat language before judging how the wider world branches.
General save progress will not transfer to the launch version. A beta reward can unlock a Prologue skip option later, but the first run is still the supported way to see the opening in context. This guide does not shorten the sequence into unsupported step-by-step inputs because the first-party description names its role, not every interaction inside it.
Read the Prologue as the first route boundary: finish the named opening, then treat the first explorable region as the point where the beta’s objective structure begins. If a later build changes the opening or the skip behavior, that update belongs in the release record rather than being retrofitted into this beta route.
Claim Tiel
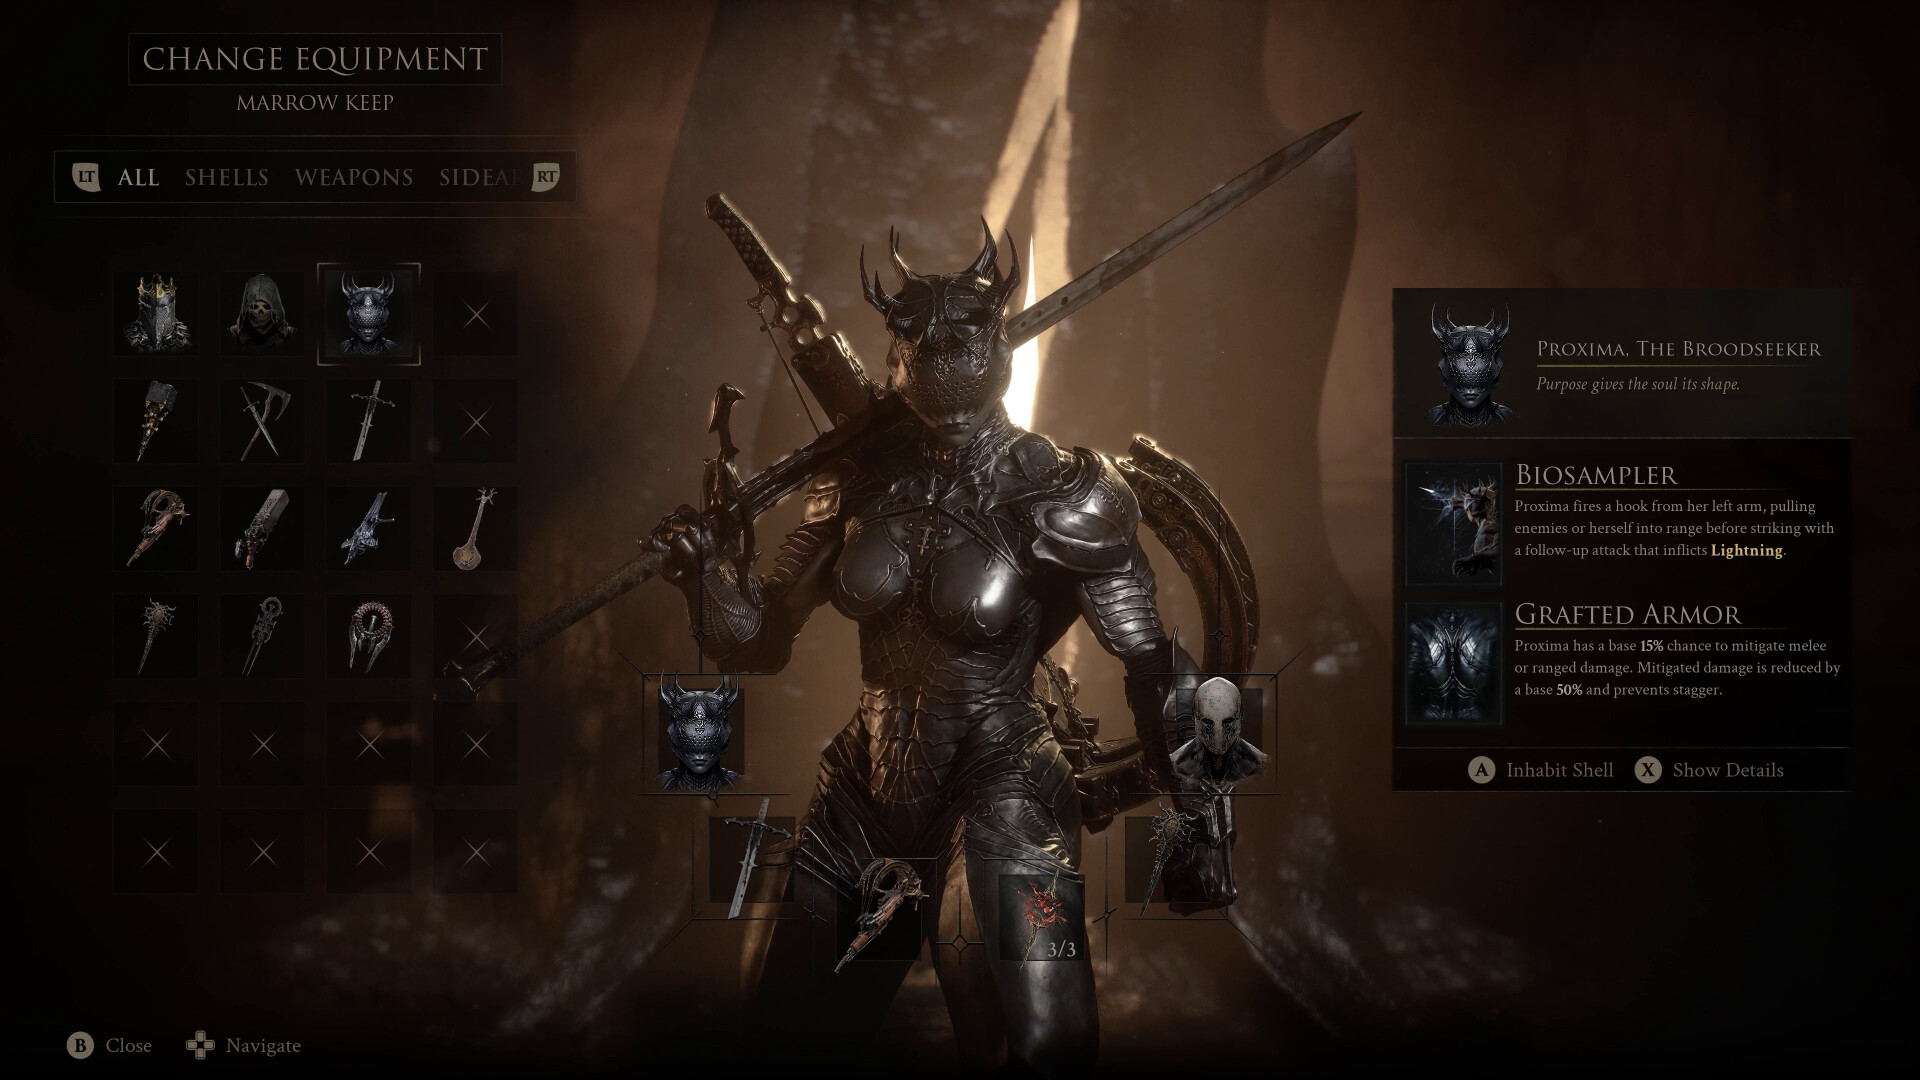
Tiel, the Acolyte is the playable Shell explicitly named for the beta. Discover and possess Tiel when the opening route presents that opportunity. The important database relationship is simple: Tiel is one of eight playable Shells, and the beta makes this identity available without disclosing the rest of the roster.
Possession connects the route to character progression because Shells carry abilities and lost memories. The supplied sources do not provide a complete Tiel ability table, numerical build, or exact pickup coordinate, so the guide keeps the objective at the level the beta material supports: find the named Shell, claim it, and then read any abilities and memories the game itself reveals.
The useful confirmation is the relationship between route and identity, not an invented checklist of rewards. Tiel anchors the beta’s Shell vocabulary; the broader eight-Shell total is a confirmed scope fact, while the names, locations, and detailed ability records for the other Shells remain outside this route until first-party material establishes them.

Cleanse beacons
Beacon cleansing is the named objective spine in the first explorable region. Move through the region with that objective as the anchor, while recognizing that the compact world is designed for free exploration. The route can branch without turning the guide into a fabricated room order.
Combat is unrestricted by stamina, so route pressure is described through the confirmed mechanics instead: posture breaks, critical strikes, executions, sidearms, and weapon upgrades. Those systems can change how an encounter is approached, but there is no supported basis here for assigning exact enemies, damage checks, or equipment requirements to a particular beacon.
A player can therefore use beacon cleansing as the reliable progress test: if the objective is still active, explore the surrounding space and keep the combat options in mind; if the objective advances, return to the route table for the next named landmark. This preserves the beta’s open-world feel without pretending that every encounter has a fixed solution.
Optional dungeons and hidden mini-bosses
The beta includes optional dungeons and hidden mini-bosses. They are a reason to investigate branches around the main beacon route, not a promise that every side path has a fixed reward or that a specific number of dungeons exists. First-party copy conflicts on a broader dungeon count, so this folio deliberately avoids one.
Explore these branches when the game presents a clear opening and return to the beacon objective when you want to advance. The same rule keeps the guide spoiler-light: it can explain why a branch is worth checking without inventing names, drop tables, boss statistics, map coordinates, or a completion percentage.
The branch rule is deliberately simple: investigate when a dungeon or mini-boss presents itself, record what the game actually reveals, and return to the beacon spine when you want the main route. Nothing in the supplied evidence supports a complete side-content index, so an honest guide should not turn an unnamed branch into a fabricated database entry.
Beyond Marrow Keep
Marrow Keep is the named hinge near the later part of the beta route. Continue beyond it in the direction established by the objective copy. The landmark is useful because it separates the first-region beacon work from the final named movement toward Magdalena without requiring an unsupported map between them.
The broader world contains temples, forbidden forests, icy graves, and bone citadels. Those descriptions establish the sequel’s environmental range, but this opening-route guide does not assign every biome to the beta or imply that each lies between Marrow Keep and the next named destination.
Use the keep as a wayfinding marker rather than a claim about the full map. The confirmed beta sequence gives the landmark a place in the route, but it does not publish a room-by-room transition, a required loadout, or a definitive boundary for every surrounding biome. Those details need direct play evidence before they become walkthrough steps.
Toward Magdalena
The supported end of this walkthrough is directional: proceed from Marrow Keep toward Magdalena, the Lady of the Woods. The current beta material names that movement but does not provide a complete room sequence or a final campaign resolution. The guide stops where the supplied path stops.
That boundary is useful rather than incomplete. It tells a beta player which named objective follows Marrow Keep, while preserving discovery and avoiding claims that would need a full release build to verify. At launch, the world and walkthrough can expand only where first-party or directly observed game evidence supports the added route detail.
For the beta, the stopping point is a useful handoff: the player knows which named destination follows the keep and where the documented route ends. Do not fill the gap with a guessed boss order, map connection, or campaign conclusion. The next verified objective should replace this boundary only after the game or an official source names it.
Use the route as a beta field folio
Treat this walkthrough as a sequence marker rather than a completion checklist. The first-party beta description names the Prologue, Tiel, beacon cleansing, optional dungeons, hidden mini-bosses, Marrow Keep, and the direction toward Magdalena, but it does not publish every turn, encounter, pickup, or exact objective trigger. Following the named order keeps the route useful without pretending the available evidence is a full map.
When the launch build becomes available, new steps should be added only after direct observation or a first-party source establishes the route. Each addition should distinguish mandatory progress from optional exploration, record the game version or capture time, and preserve the reset boundary between beta progress and launch progression. That approach lets the folio grow into a complete walkthrough without carrying promotional assumptions forward as settled facts.
The reset boundary matters for future updates as much as the route itself. Keep beta rewards, beta objectives, and launch progression in separate records, and attach a version or capture date to any newly observed step. This makes the folio useful to players returning after launch without rewriting what the Open Beta actually supported.
What carries into launch
Beta receiptThe practical distinction is between unlockable participation rewards and general progression. The supported beta notice confirms the Flayed Harbinger cosmetic and a Prologue skip option, while ordinary save progress resets for the full release. Treat the cosmetic as a participation-linked unlock and the skip as a later convenience, not as proof that ordinary character, route, or inventory progress carries forward. Before launch, record which reward is claimed and keep that record separate from the beta route itself. When the full game is available, this section should be updated from the live release behavior or a new first-party notice, with the beta reset boundary preserved for players comparing both versions. That distinction also prevents a beta guide from promising a retained build, Shell state, or map position that the release reset does not support.
Verified first-party sources.
Last updated:.
- Mortal Shell II Open Beta on SteamOfficial store.
- Mortal Shell II official sitePublisher site.
- Mortal Shell II on SteamOfficial store.